
Last updated November 15, 2026
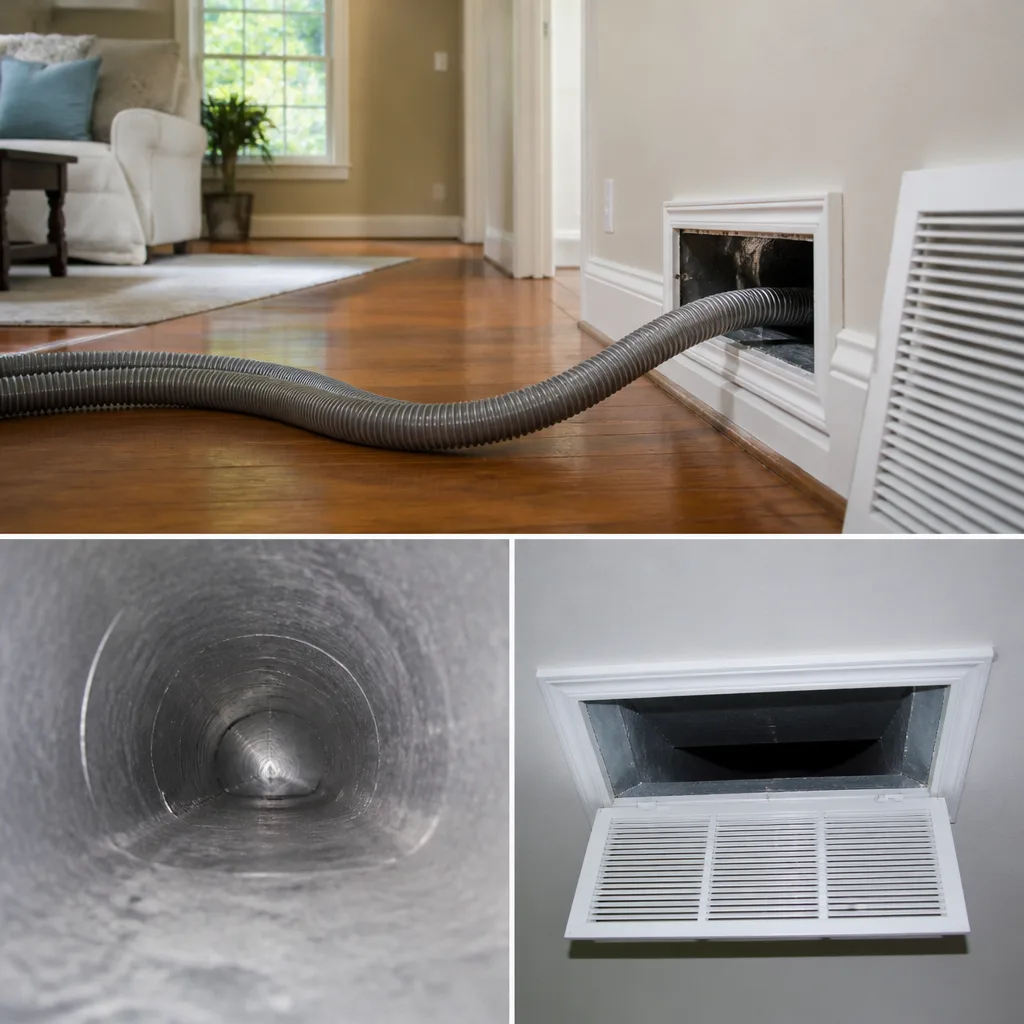 Whole-home duct cleaning
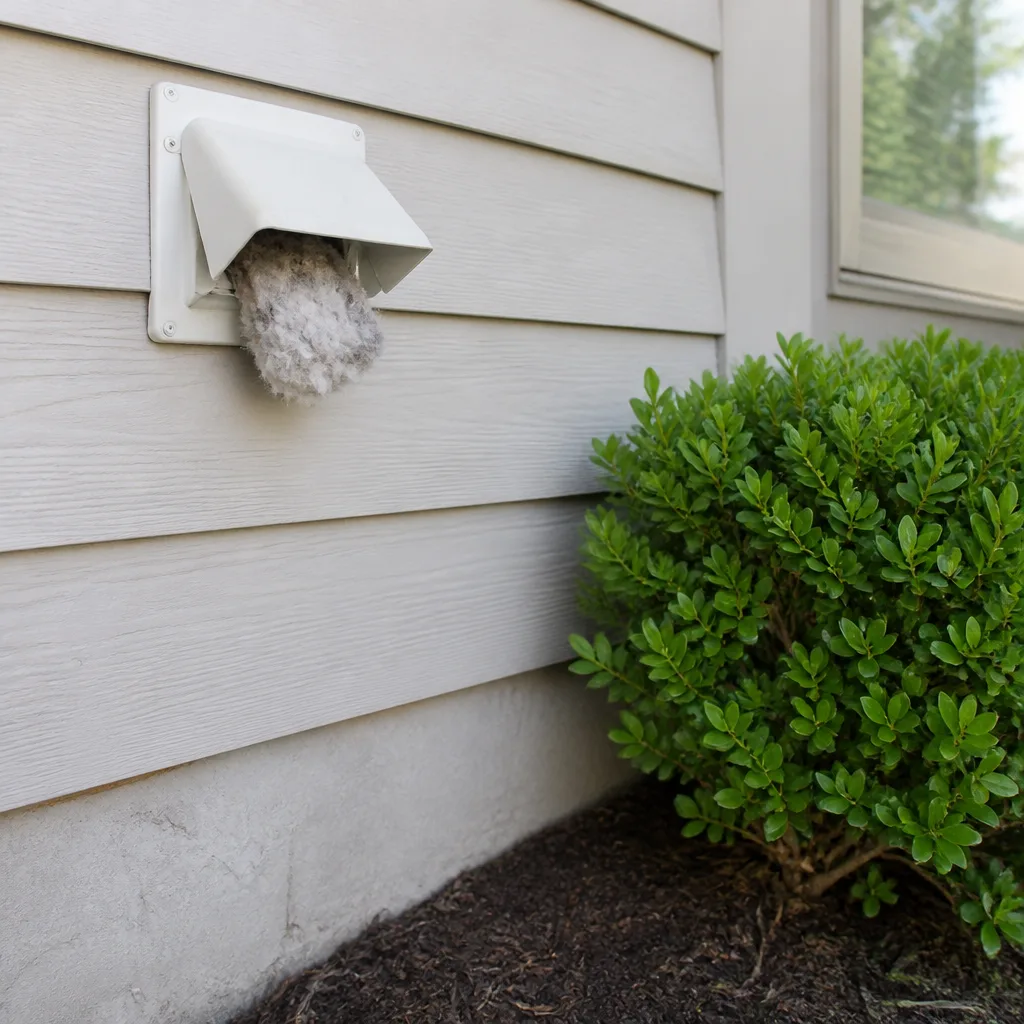 Dryer vent cleaning
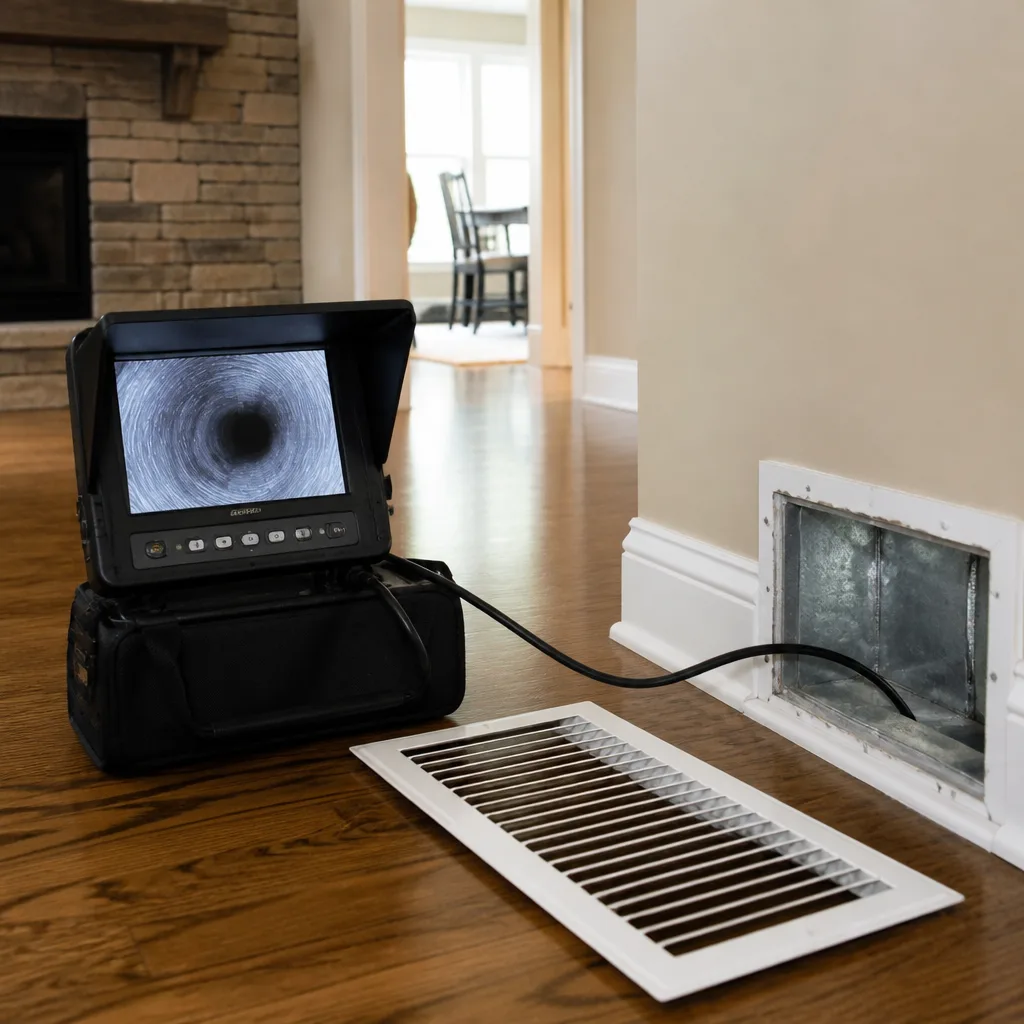 Camera inspection
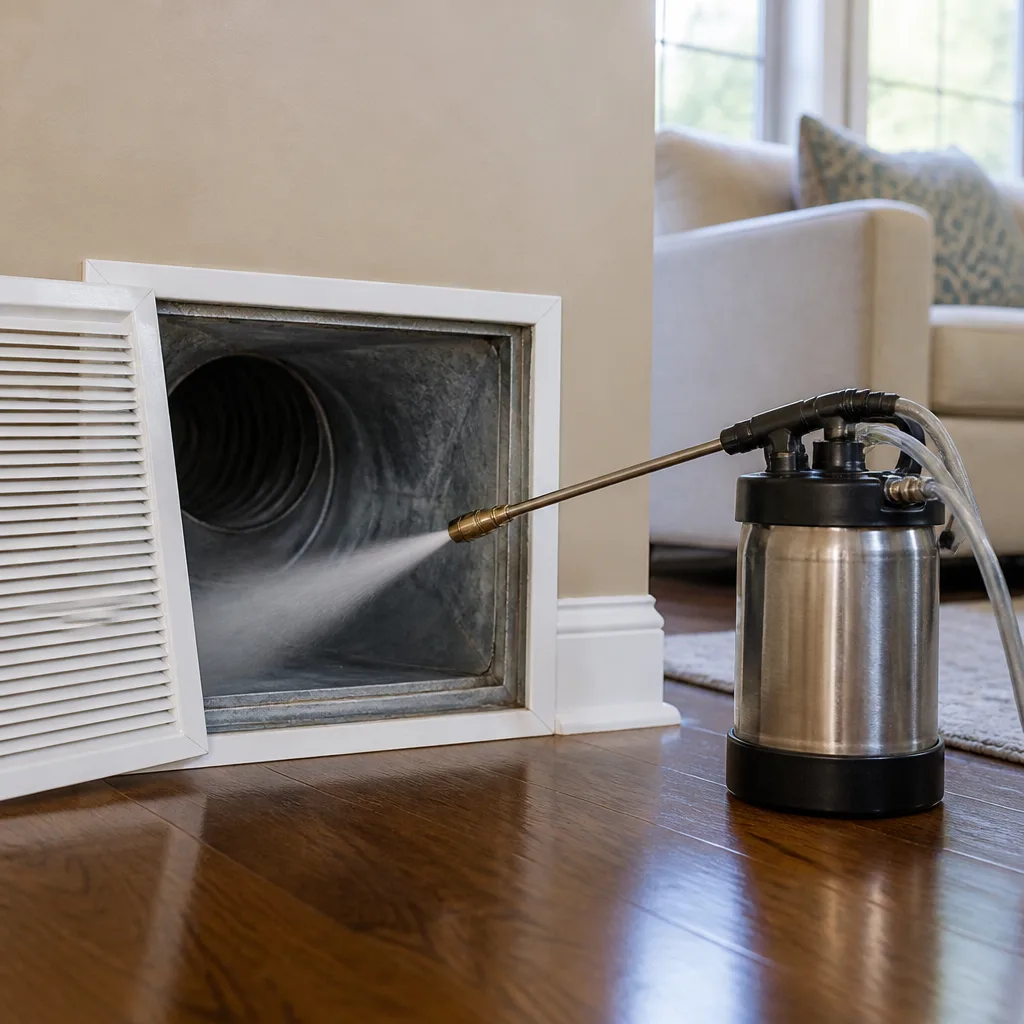 Sanitizing & deodorizing
Whole-system duct and dryer vent check with before-and-after photos - you see exactly what came out of your vents
That "$99 whole-house special" is a bait ad - the real number appears once they are in your hallway, or the "clean" is a shop-vac at the register. We photograph the inside of your ducts before and after instead.
Air Duct Cleaning Maintenance Checklist for Milwaukee Homeowners
Replacing your air filter on schedule is the bare minimum. It tells you almost nothing about what’s actually happening inside the ductwork, at the registers, or around the air handler where contamination and damage build up quietly over years. Most maintenance checklists floating around online are glorified filter-change reminders, which means the parts of your system most likely to fail are the parts nobody’s watching. This guide is different. It walks you through the inspection and documentation steps you can run yourself between professional visits, so you catch small problems early and walk into any contractor conversation already knowing what your system is doing. You’ll get a room-by-room register routine, a log format worth keeping, red flags specific to Milwaukee homes, and honest guidance on how often cleaning actually needs to happen. Consider this your working checklist, not a marketing brochure.
Quick Answer
A practical air duct maintenance checklist for a Milwaukee homeowner covers four things: a monthly filter check, a room-by-room register inspection you run with a flashlight and phone camera, a written log of odors and airflow changes, and a professional duct inspection on an interval set by your household’s actual conditions rather than a generic “every three to five years” rule. The homeowner’s job between professional visits is inspection and documentation. The technician’s job is cleaning, and when something is damaged, repair. Keep those two lanes separate and you’ll get accurate scopes, fair pricing, and fewer surprises.
Styles & brands we work with
- Whole-home duct cleaning
- Dryer vent cleaning
- Camera inspection
- Sanitizing & deodorizing
Table of Contents
- Start With a Baseline Walkthrough
- The Room-by-Room Register Inspection Protocol
- What to Document Before You Call Anyone
- Milwaukee-Specific Red Flags: Basements, Crawl Spaces, Supply Boots
- How to Set Your Own Cleaning Interval
- What Belongs in a Homeowner’s Duct Log
- What a Professional Visit Should Actually Include
- Don’t Skip the Dryer Vent
Start With a Baseline Walkthrough
Before you can notice a change, you need to know what normal looks like. A baseline walkthrough is a one-time, whole-house pass you do once, write down, and refer back to. It takes about an hour. The goal isn’t to fix anything. It’s to create a reference point you can compare against in six months or a year, and to hand a professional technician real information instead of a vague complaint about “dusty air.” A technician who arrives to a system that’s never been cleaned has to build a picture from scratch. A technician who arrives to your three-page log with photos has a running start.
Here’s how to run a baseline pass in your Milwaukee home:
- Find your air handler or furnace and snap a clear photo of the label. Write down the make and model. This matters later if you’re weighing filtration upgrades, since brands like Honeywell and Aprilaire make a range of filter cabinets and media boxes that service different systems.
- Photograph the filter cabinet and note the filter size printed on the frame. That’s the number you’ll need every time you buy a replacement.
- Walk every room with a supply and return register. Open each one and take a photo of the grille and, if you can, of the visible duct surface behind it.
- Stand at each register with the system running and hold a thin strip of tissue near the grille. Note whether the pull is strong, weak, or absent.
- Go to your basement or utility room and note any moisture, staining, or white crust on the duct runs or the slab near them.
- Note the date, the outside weather, and anything you’ve noticed about odors or dust.
That’s it. One pass, one folder on your phone, one sheet of paper. From here, the checklist becomes a comparison exercise rather than a discovery exercise. When you call Whitman Air Duct Cleaning with that baseline in hand, the person on the phone can help you understand what a real scope of work looks like for your specific system instead of guessing.
The Room-by-Room Register Inspection Protocol
Registers and return grilles are the one part of your duct system you can see without opening walls, and they’re where the first visible signs of trouble show up. A flashlight and your phone camera are enough. The routine below takes about 15 minutes for a typical Milwaukee home and is worth doing on a set schedule, ideally the same week each season so you don’t lose track. The point is consistency. A quick look every three months catches changes a once-a-year glance misses.
Work through this protocol in each room:
- Look at the grille face first. A light, even film of household dust is normal. Thick dark buildup, fibrous clumps, or anything that looks like lint attached to the slats suggests airflow is carrying debris out of the duct, which is worth noting.
- Shine the light through the grille into the duct. You’re looking for visible debris, settled dust at the bottom of the run, or anything that catches the beam. Photograph what you see rather than trying to describe it from memory.
- Check the edges of every supply boot. The boot is the metal fitting where the duct meets the register. Look at the perimeter where it meets the drywall or flooring. Any rust, staining, or moisture trail belongs in your log.
- Test the airflow with the tissue method. Hold the tissue near the grille with the system running and note on a simple scale: strong, medium, weak, or none. A room that used to be strong and is now weak is a real signal.
- Snap a photo of the whole grille in context. The ceiling, the wall, and the register together. This lets a technician see the boot style and installation without a special trip.
If you notice a room that never seems to get comfortable no matter what you do with the thermostat, note it even if the register looks fine. Airflow problems and duct problems don’t always show up at the grille, but the room itself is telling you something. When you’re ready to have someone actually inspect the inside of the system, that’s the work of air duct cleaning, and a proper scope starts with a walkthrough of exactly these spots.
What to Document Before You Call Anyone
The difference between a quote you can trust and a quote that comes back higher than expected is usually the information you had in hand before the technician arrived. A one-sided phone call from a homeowner who says “the air feels dusty” gives a caller almost nothing to work with. A short, structured summary gives them room to quote the whole system clearly instead of hedging. You don’t need to be technical. You need to be specific about what you saw, smelled, and felt.
Here’s the short list of what to gather before your call:
- Photos, not adjectives. A photo of each register with the grille open, a photo of the air handler label, and a photo of the filter cabinet. Those three photo types answer most of the questions a scheduler would otherwise ask.
- Odor notes. Write down what you smell and where. A musty smell at one register is different information from a musty smell in the whole basement. If an odor appears only when the heat or air conditioning kicks on, note that timing.
- Airflow observations. Which rooms are strong, which are weak, and whether anything has changed since your last baseline. This tells a technician whether to look at duct obstruction, leaks, or a damper issue.
- Household context. Number of pets, recent renovation work, whether anyone in the home has respiratory sensitivities, and how often you change the filter. These shape the recommended cleaning interval more than any calendar rule.
- Your log. Even a few dated notes in a notebook are useful baseline data. Bring them out when you call and read the technician the timeline.
That’s the preparation part done. If the ductwork itself looks or feels damaged, sagging, disconnected, or crushed, that’s not a cleaning question at all, it’s a repair question, and it belongs in your notes to flag early. A company that only cleans will refer you elsewhere. One that repairs can address it in the same visit. You can read more about Milwaukee service expectations and what to have ready when you call.
Milwaukee-Specific Red Flags: Basements, Crawl Spaces, Supply Boots
Milwaukee’s cold winters and humid summers put real stress on ductwork in ways you won’t see in a mild climate. A few conditions are worth watching for specifically in homes around here, and they show up in predictable places. Cold snaps and strong summer humidity swings both drive condensation and air leakage, and older housing stock in neighborhoods across the city, from the East Side to Bay View and out toward Wauwatosa, is where these signs are easiest to spot if you know where to look.
Watch for these three:
- Basement condensation near duct runs. Look for damp patches on the slab or floor joists near the ducts, or water beading on the duct surface itself. In an unheated basement, a cold duct run during a humid summer, or the reverse during winter, can collect condensate on the metal. Persistent moisture around a duct is a real signal to get it looked at, because wet insulation and wet duct liner are problems that get worse over time, not better.
- Signs of pest activity in crawl spaces and rim areas. Chewed insulation, droppings, nesting material, and greasy rub marks along duct surfaces are all clues. A crawl space that isn’t visited often is where this goes unnoticed longest. If you find pest activity near ductwork, handle the pest problem first, then have the ducts evaluated, because cleaning a system and then letting the same pathway reopen means you’ll be cleaning it again.
- Rust at supply boots. Rust at a boot almost always means moisture, not just age. It may be condensation dripping down the boot, a slow leak nearby, or a duct run that passes through a wet area. Photograph the rust, note its location, and add it to your log so a technician knows to check that specific run rather than the whole system.
None of these are reasons to panic. They’re reasons to be deliberate and to keep the notes. If you’re outside the city proper and want the equivalent guidance for a nearby community, the same checklist logic applies whether you’re searching for dryer vent cleaning or a full duct inspection.
How to Set Your Own Cleaning Interval
The “every three to five years” rule you see everywhere is a starting point, not a prescription. The honest answer is that your household’s actual conditions set the interval, and most homes have at least one variable that pushes them faster or slower than the generic number. A professional who skips this conversation and quotes a fixed schedule isn’t looking at your home. A professional who asks about pets, renovations, and runtime is doing the assessment that actually belongs in a quote.
Use these variables to aim your interval in the right direction:
- Pets. One or more shedding pets, especially dogs and cats indoors most of the day, will load a system faster than the generic rule suggests. The more hair and dander moving through the return, the shorter the sensible interval.
- Recent renovation work. Drywall dust, sawdust, and construction debris travel through a duct system and settle in places a vacuum from the register won’t reach. If you’ve had drywall, flooring, or kitchen work done in the last year, that’s a factor worth raising on your next call.
- HVAC runtime. Runtime is the real engine of contamination. A Milwaukee home with a heat pump or furnace that runs hard through a long heating season moves far more air through the ducts than a home in a mild climate. Homes with continuous fan operation run even more.
- Filter habits. A homeowner who changes the filter on schedule slows the load. A filter that runs long past its prime lets more debris reach the ducts, and the fix is a reset on both the filter routine and the inspection schedule.
- Occupant sensitivities. If someone in the home notices dust or odors more readily than before, an environmental review of the ducts may be reasonable sooner.
In practice, that means a Milwaukee home with two dogs and a recently finished basement might want an inspection in two years, while a home with no pets and a well-maintained filter might reasonably stretch longer. The interval isn’t a marketing number. It’s a consequence of the variables above, and it’s worth writing down so you have a reminder when the next check comes due.
What Belongs in a Homeowner’s Duct Log
A duct log sounds like more work than it is. A single sheet of paper or a note on your phone, updated when you notice something, gives you a running record that turns vague memories into useful data. When a technician sees a dated pattern, they can reason about it. When they see a homeowner guessing at a timeline, they have to assume the worst to be safe, and that usually means a broader scope than you actually needed. The log is the difference between a technician quoting from evidence and a technician quoting from caution.
Keep these entries in your log, in this order, most recent first:
- Date and weather. Just the date and a brief note about outside conditions, whether it’s cold, warm, humid, or a swing week.
- Filter change date and filter size. The two numbers that matter are the date and the size. That’s the whole entry.
- Register observations from each room. A short note beside each room: strong airflow, weak, changed, or a photo reference.
- Odor notes. What, where, and when. If it’s only when the heat comes on, say so. If it’s only in the basement, say so.
- Rust, moisture, or pest observations. Location, photo reference, and date.
- Professional visit records. Date, equipment used, scope of work, and any before-and-after documentation. Ask for before-and-after photos of the ducts and keep them with the log, since they’re the most useful record of what was done.
- HVAC service records. Date of the last furnace or AC service, since it’s relevant context if the ducts come back into the conversation.
That’s the whole log. When you call, it’s the document that lets a contractor scope the work accurately instead of guessing. Ask the company you’re calling what documentation they provide, and ask what equipment they’re bringing. A serious operator uses purpose-built duct cleaning systems like Rotobrush and Nikro rather than improvised tools, and there’s no harm in confirming that up front. The point is to make sure the visit matches your log.
What a Professional Visit Should Actually Include
A professional duct cleaning visit has a defined shape, and if yours doesn’t look like this, ask why. The work starts before any cleaning happens. A technician should walk the system, review what you’ve documented, and talk through the scope of work before starting. That conversation is where you find out whether the job is straightforward cleaning, whether a damaged section needs repair, or whether there’s a moisture or pest issue that has to be resolved first. Nothing should get cleaned until the scope is agreed and the price is set in writing.
Here’s what a serious visit typically includes, in order:
- A walkthrough and scope conversation. The whole system, the registers, and the air handler, with your log in hand.
- Protection of surfaces and containment. Remediation-level work uses containment equipment to keep debris out of the living space. Abatement Technologies equipment is the reference standard here, and Guardsman-brand standards cover surface and system protection during the work itself.
- Cleaning with purpose-built equipment. Rotobrush and Nikro systems are designed for residential duct cleaning and reach surfaces improvised tools don’t. A shop vacuum is not the same tool.
- Repair, if needed. Disconnected runs, crushed flex duct, damaged boots, and leaks all belong in a proper repair scope. This is where a company that only cleans will hand you off to someone else, and a company with a repair capability handles it in one visit.
- Documentation. Before-and-after photos of the ducts, and a written record of what was done and how much was done.
If filtration and air quality products come up, the conversation should focus on the actual system in your home. Honeywell and Aprilaire both make filtration components that work inside standard residential systems, and a technician familiar with that ecosystem can tell you whether an upgrade makes sense for the equipment you already have. There’s no reason to install a new filter cabinet to solve a duct problem, and there’s no reason to skip filtration if the real issue is filter sizing.
Don’t Skip the Dryer Vent
Your dryer vent is part of the whole-home ventilation picture, and it’s the one part most homeowners never think about until something goes wrong. A dryer vent clogged with lint forces the dryer to work harder, adds heat to the exhaust path, and is one of the leading causes of residential dryer fires. The maintenance logic is simple. If you haven’t had the vent inspected in recent memory, the sensible move is to have it checked on the same visit as your duct work rather than treating the two as separate tasks.
Signs on your checklist that the dryer vent needs attention:
- Clothes take longer than they used to in the dryer, or a second cycle is routinely needed.
- The dryer gets noticeably hot to the touch on the outside or at the top.
- Lint accumulates around the outside vent hood, or the hood flap doesn’t open freely when the dryer runs.
- You can’t remember the last time the full vent run was inspected. Accessibility checklists and the tissue test at the outside hood are the quick homeowner checks worth doing, but the inside of a long vent run needs a proper look.
- The vent run is long, has multiple bends, or exits through the roof or a wall far from the dryer. Longer and more complicated runs trap lint faster.
Treating dryer vent cleaning as part of the same household maintenance cycle as duct cleaning just makes sense. Same visit, same equipment set, same documentation. And if the vent is visibly damaged, crushed, or disconnected, that’s a repair conversation rather than a cleaning one, which is why it helps to work with a company that offers repair as a service line alongside cleaning.
Common Mistakes to Avoid
- Treating “I changed the filter” as the whole checklist. A filter change tells you the filter was replaced. It says nothing about what’s at the registers, in the boots, or downstream of the air handler. A real checklist has a register inspection step every time.
- Skipping the basement and crawl space. In Milwaukee’s cold winters, moisture and pest problems love the parts of the house you visit least often. A basement and crawl space walkthrough belongs on every seasonal check, not just once a year.
- Calling a contractor before you’ve documented anything. A vague phone call gets a vague quote. A short summary with photos and dates gets a scope that actually matches your system. Stand in the way of your own quote and you’ll pay for it.
- Assuming any company can do duct repair. Many duct cleaning companies do cleaning and only cleaning. If your system has a disconnected run or a damaged boot, ask up front whether the company repairs as well as cleans, or you’ll be scheduling a second visit with someone else.
- Accepting a low price without asking about equipment. The equipment matters more than the price tag. A crew with the right Rotobrush or Nikro system and containment equipment does work a shop vac can’t. Ask what they’re bringing.
- Ignoring signs of moisture. Rust at a boot, damp patches near a duct, or a little condensation looks small. Left alone, moisture and duct insulation are a problem that grows. Note it and get it evaluated.
- Sitting on the log until you can’t remember the timeline. A log kept current is a useful document. A log reconstructed from memory eighteen months later is a guess. A five-minute entry every few months is all this needs.
See the difference
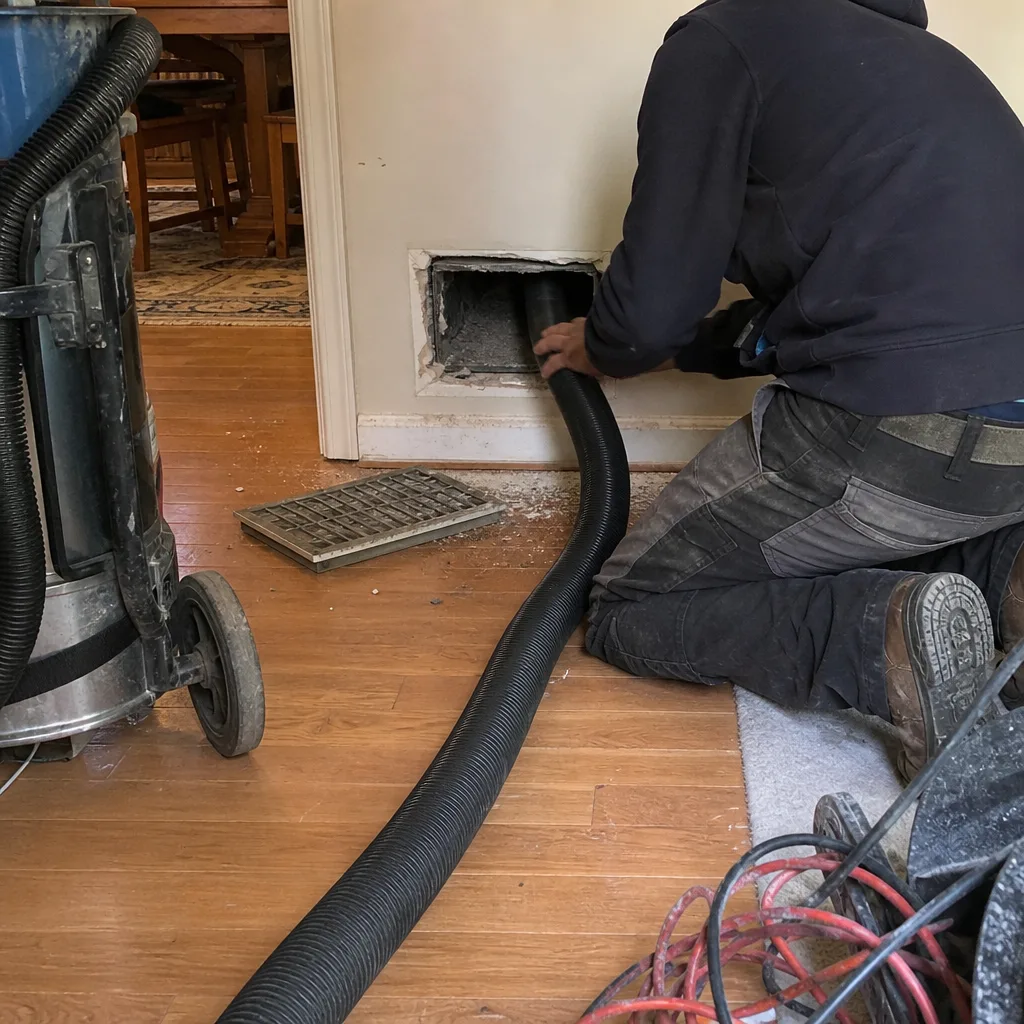 Before
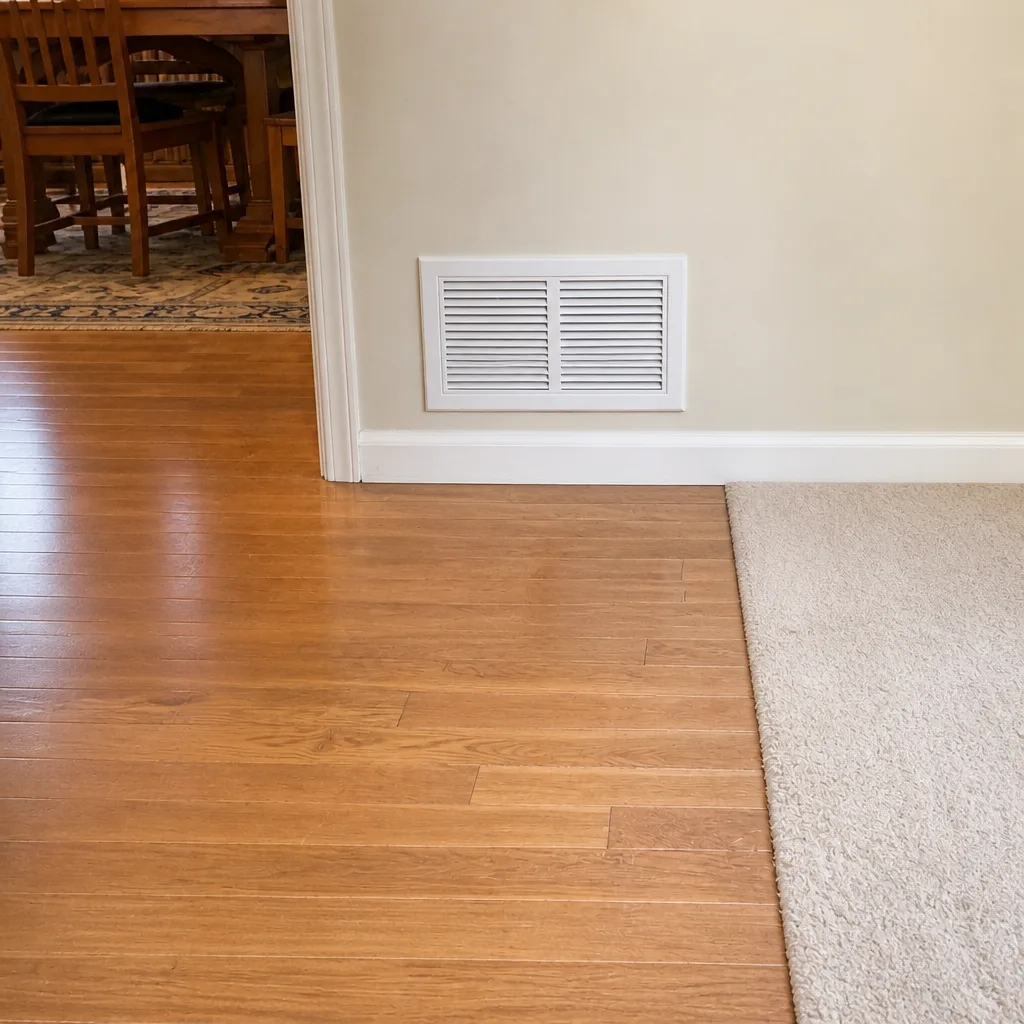 After
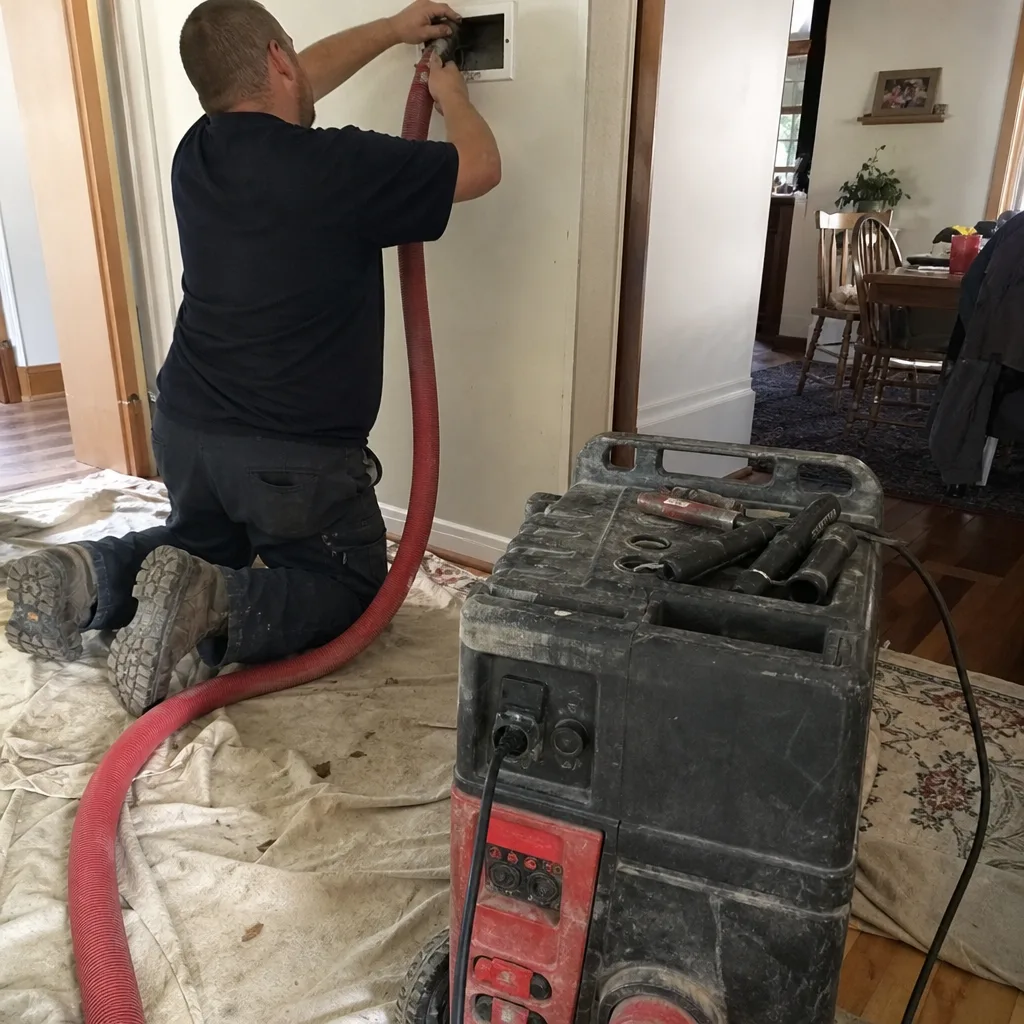 Before
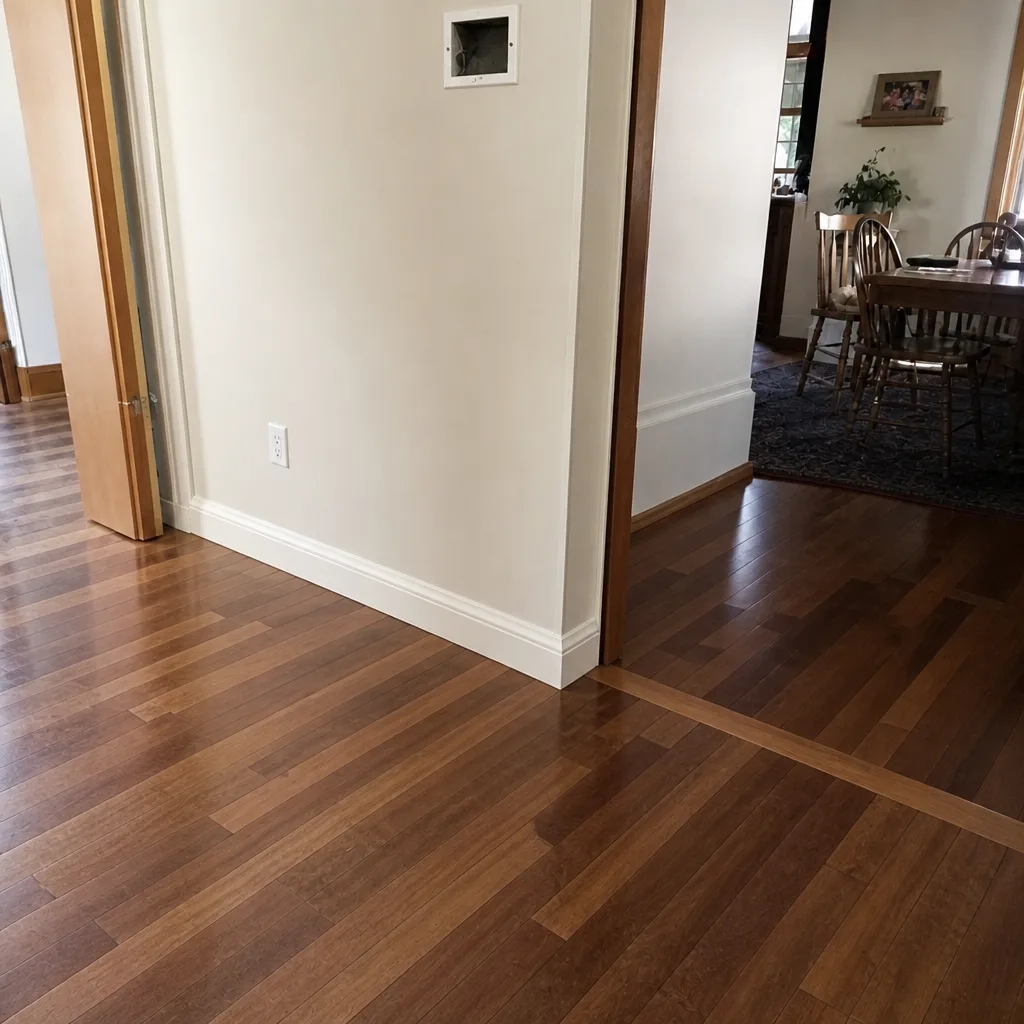 After
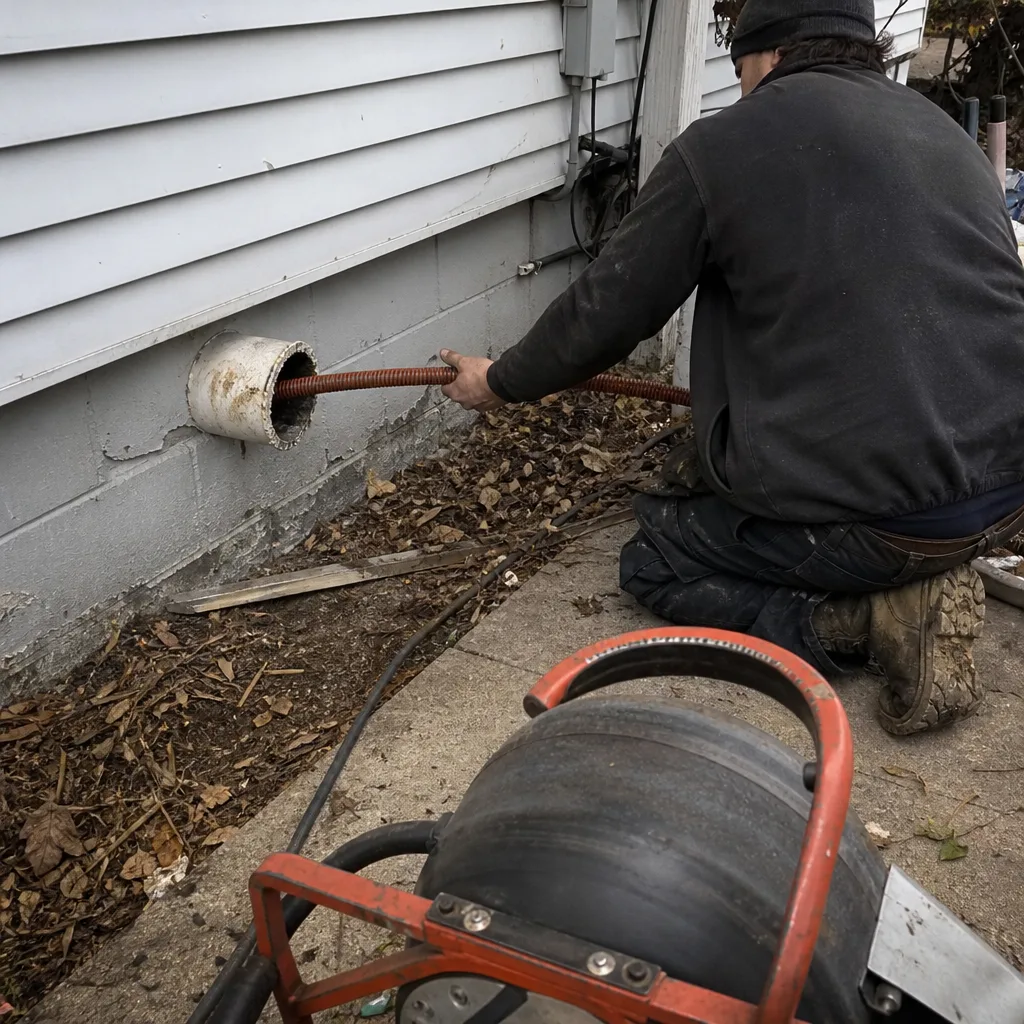 Before
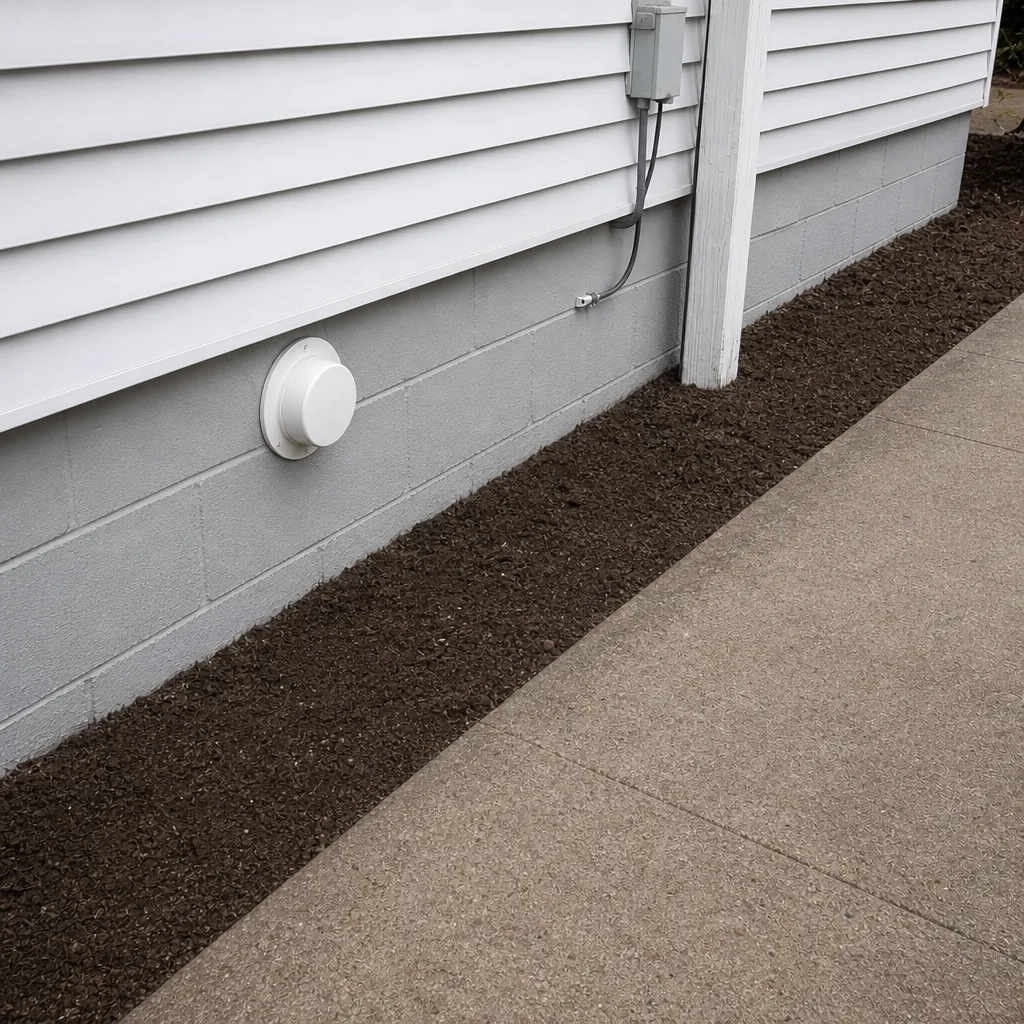 After
When to Call a Professional
Some problems are clearly a “call a professional” situation even when the register looks fine. If you notice musty odors that don’t clear when you run the system, rust at supplies, condensation or damp patches near ducts in the basement, signs of pest activity in a crawl space, or a room that’s never comfortable no matter what you do with the thermostat, those are all reasons to have the system looked at rather than cleaned up from the outside. A visible dent, sag, or separation in the ductwork is the same situation in a different form. And if it’s simply been a few years since any inspection happened, a scheduled visit resets the baseline. Whitman Air Duct Cleaning offers free estimates in Milwaukee – call (866) 729-3894. We answer 24/7. Fast dispatch from 7am to 7pm, Sunday through Friday.
Frequently Asked Questions
There’s no single right answer, but most Milwaukee homes land somewhere between two and five years depending on pets, renovation work, HVAC runtime, and filter habits. A home with multiple pets or recent remodeling usually sits at the shorter end, while a home without either can reasonably wait longer. Rather than following a fixed rule, track your own variables in a log and have a professional inspect at the interval your household supports. Call (866) 729-3894 for an exact scope on your home – estimates are free.
You can inspect the parts you can see: registers, grilles, supply boots, and the surfaces around the air handler. A flashlight, your phone camera, and a tissue for the airflow test give you more useful information than most homeowners realize. What you can’t do is inspect the inside of the duct runs or the areas behind walls and flooring. That’s the professional’s job on the next scheduled visit. Call (866) 729-3894 if you’ve found something in your inspection that needs a proper evaluation.
Condensation on a duct usually comes from a temperature difference between the duct surface and the air around it, plus humidity. In Milwaukee, the combination of cold winters and humid summers makes a basement a likely spot for this. Persistent moisture needs to be looked at, because wet insulation and wet duct liner don’t dry out on their own. Rust at a supply boot nearby is often the second clue. Call (866) 729-3894 to schedule an inspection.
Bring three things: photos of each register, the make and model of your air handler, and notes on odors and airflow by room. A short log with dates is even better. That information lets a technician scope the work accurately on the first pass instead of guessing from a vague description. If you have pets or have done recent renovation work, mention that too, because both affect the recommended scope. Call (866) 729-3894 for a free estimate.
Often it doesn’t, because many duct cleaning companies only clean. A proper scope separates cleaning from repair, and if your system has a disconnected run, a crushed flex section, or a damaged boot, the repair is its own task. Ask up front whether the company repairs as well as cleans so you’re not handed off to someone else after the cleaning visit. At Whitman Air Duct Cleaning, repair is one of our three service lines alongside cleaning and dryer vent work. Call (866) 729-3894 for a free estimate.
Yes. The dryer vent is part of the home’s ventilation, and it has its own maintenance interval. Clothes taking longer in the dryer, a hot dryer surface, or lint at the outside vent hood are all signs worth acting on. Scheduling the vent check alongside a duct inspection means one visit covers both systems and one documentation record covers both. Call (866) 729-3894 for a free estimate covering both.
The Bottom Line
The most useful duct maintenance checklist for a Milwaukee homeowner is the one that keeps a record between visits. Change the filter on schedule, run the register inspection every few months, walk the basement and crawl space, log what you see, and photograph what you notice. When you call for professional work, that log does the heavy lifting, because it lets a technician see the timeline and scope the work accurately rather than quoting broadly out of caution. Set your cleaning interval from your actual household variables rather than a generic rule, and treat the dryer vent as part of the same system. The result is a home that’s easier to maintain, a system you understand, and professional visits that aren’t guessing.
Whitman Air Duct Cleaning offers Air Duct Cleaning, Dryer Vent Cleaning, and Air Duct Repair, using professional-grade equipment from Rotobrush, Nikro, Abatement Technologies, and other trusted brands. Our technicians have up to 11 years of experience, and we offer free estimates on your system. Call (866) 729-3894. We answer 24/7. Fast dispatch from 7am to 7pm, Sunday through Friday.
Written by the team at Whitman Air Duct Cleaning.